Centerpieces

large centerpiece graduation party books

College Graduation Party decor

I’m sharing some photos from a college graduation party that I did for a friend.  I helped with the overall look and decor.  So flowers, centerpieces, etc.  For her graduation celebration, she wanted a very sophisticated look and feel and I think we were able to achieve that.

red roses mercury glass

The starting point was her school colors, which were red and silver. On the tables, red roses were arranged in mercury glass vases in various shapes and sizes next to a pile of red vintage books tied with beautiful satin ribbon set on top of black tablecloths. I also used a small mercury glass vase to hold a votive candle.


It took some time to compile all the books we needed for this look.  I used about 5 books per table. The subject matter did not matter.  There were 15 tables, so we needed 75 books just for the centerpieces.  In total, we used about 100 books for the tables and accents locations like the bar and card table. Table numbers were also framed in a small silver frame. Each table was unique due to the variations in the vases and books.

table centerpiece red and silver
graduation centerpieces red and silver books and satin

The hors d’oeuvres table also featured a large showpiece arrangement.  I found a large mint julep-style vase at the goodwill that served as the most perfect vessel for this arrangement.  I also found about 8 large red vintage references for this table.  They needed to be large in scale to complement the large arrangement at the base and then accented with mercury glass vases with votive candles inside.
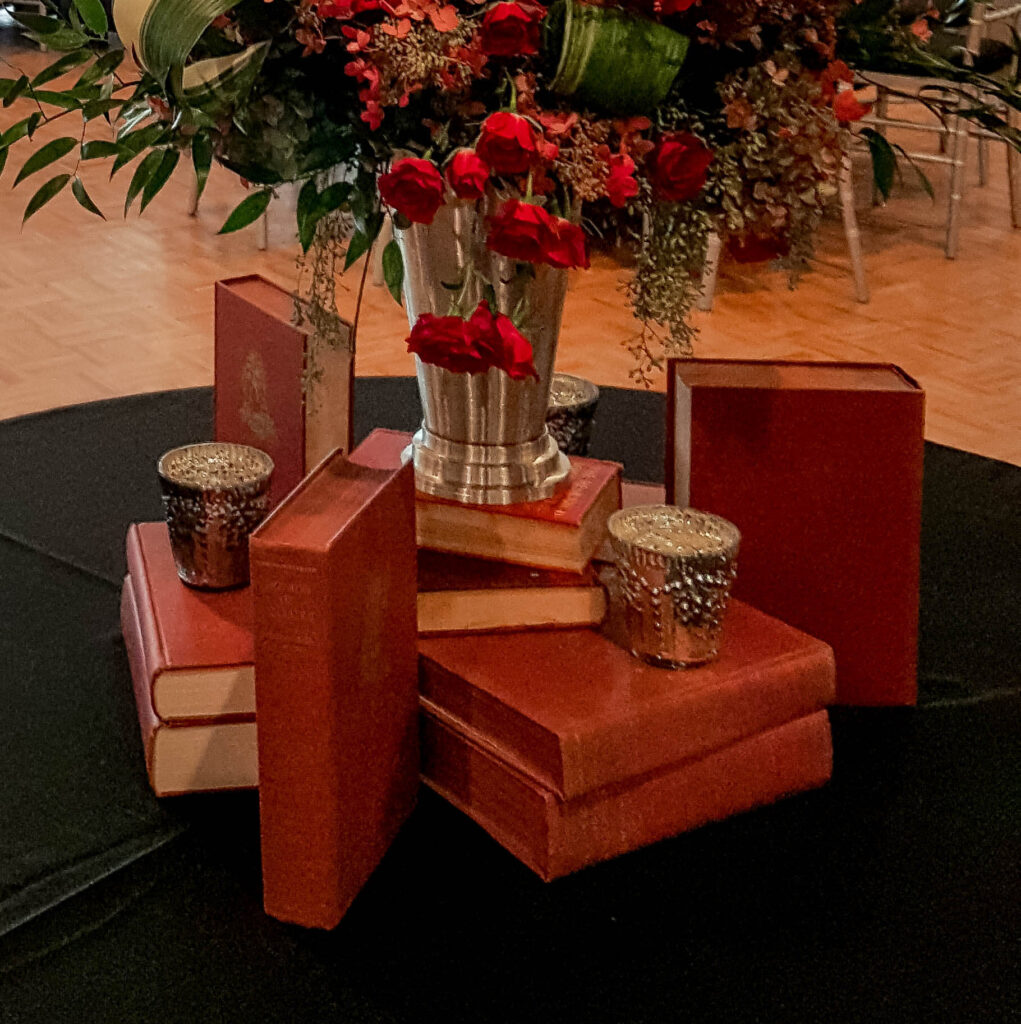
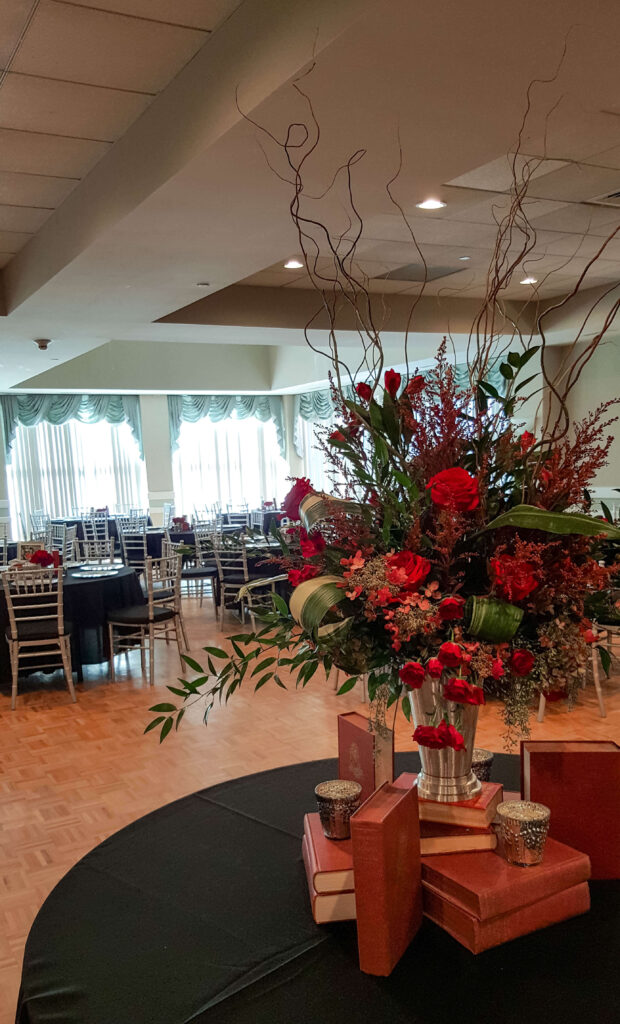


centerpiece detail books mercury glass
I used red roses, regular and spray. Curly willow for height, alstromeria, astilbe, some early fall hydrangea in a creamy pink, and lots of greens for texture.
large centerpiece graduation party books

I forgot to get a picture but the cardboard was a vintage briefcase, which turned out beautiful.


It was a beautiful sophisticated look, I loved how it turned out.


College Graduation Party decor Read More »

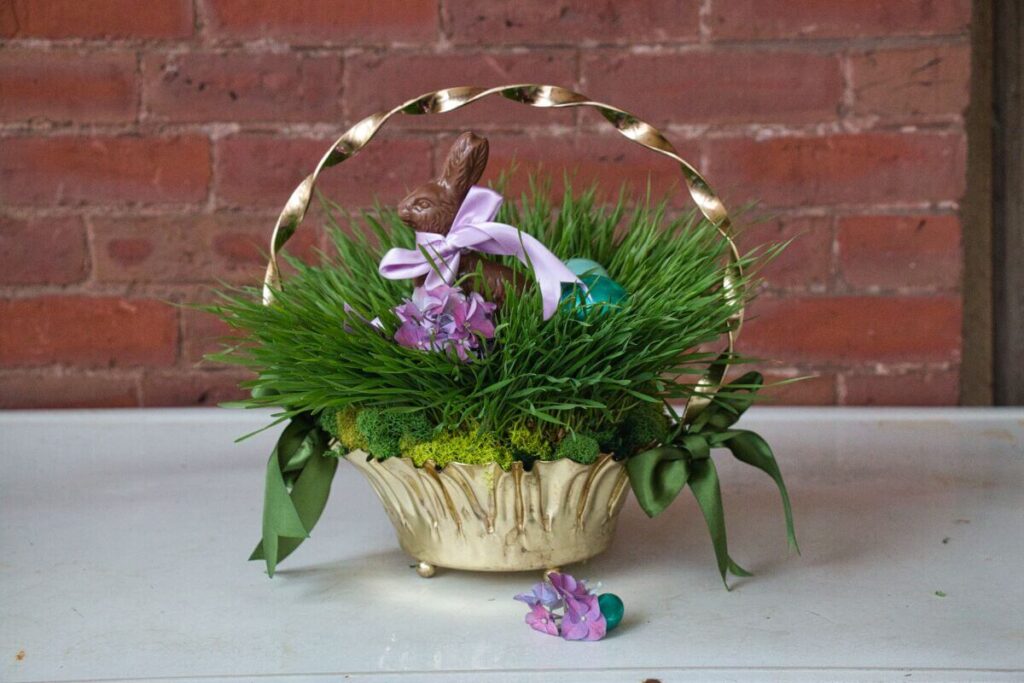
easter bunny in wheat grass

Growing your own real Easter Grass

easter bunny in wheat grass

I have wanted to grow grass for Easter baskets, and I finally did it this year. More importantly, it truly turned out beautiful. I have a long list of crafts and DIY projects. It will take me until I am 90 before I complete them all, but I am happy to say that I can check this one off my list. And I will do it again. What screams spring more than grass?

I could see it in my mind’s eye. A beautiful basket of lush green grass, with a lovely chocolate bunny nestled in the middle. I’m so happy that this DIY came out just as I had envisioned it. This is a great thing to do with kids because it’s easy and has beautiful and gratifying results.

wheat great easter decoration

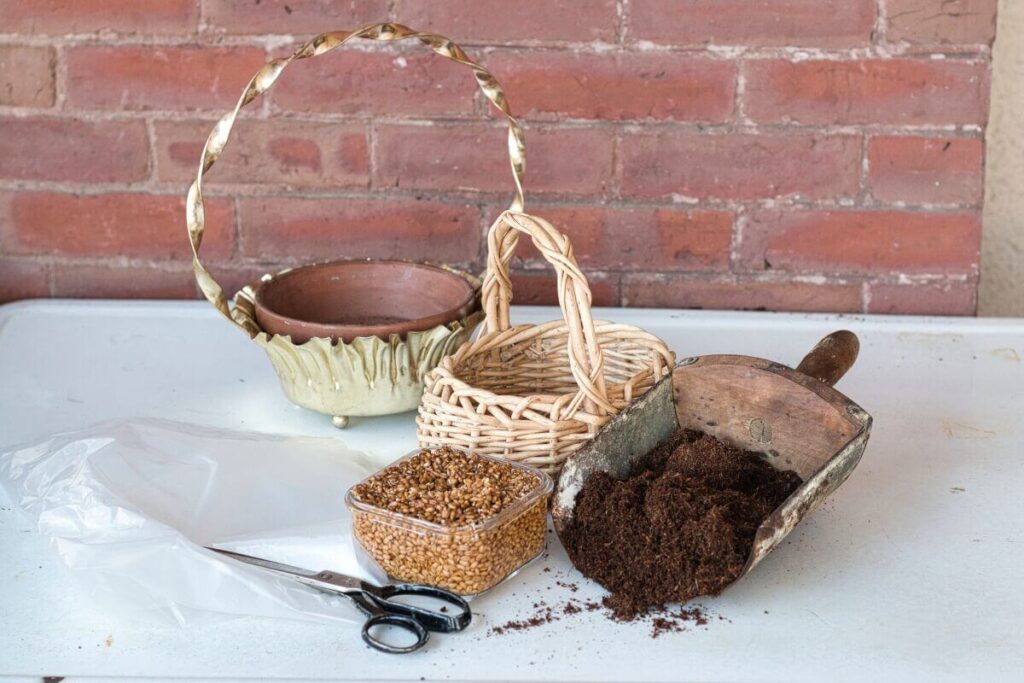
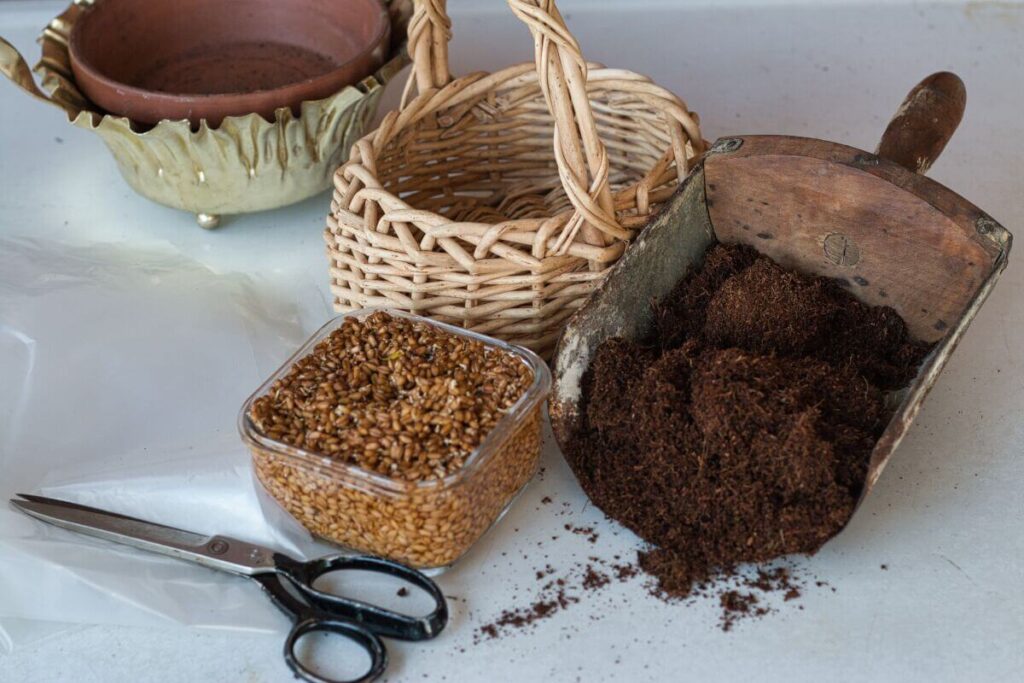
Supplies:

  • Container of your choice
  • Wheatgrass
  • Organic Coco Coir Potting Soil
  • Plastic to lined container if needed
  • Scissors

How to grow your Easter Grass

This is the easiest thing you will ever do with the most amazing result. 

Step 1:  

soak wheatgrass seeds for 1-2 days.

Step 2:  

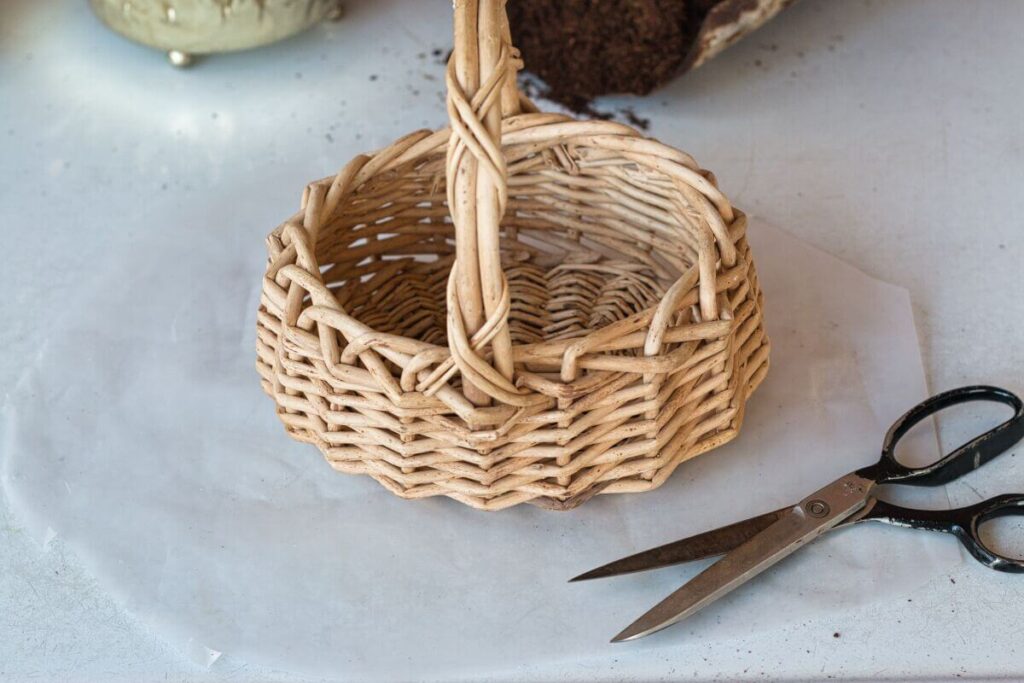
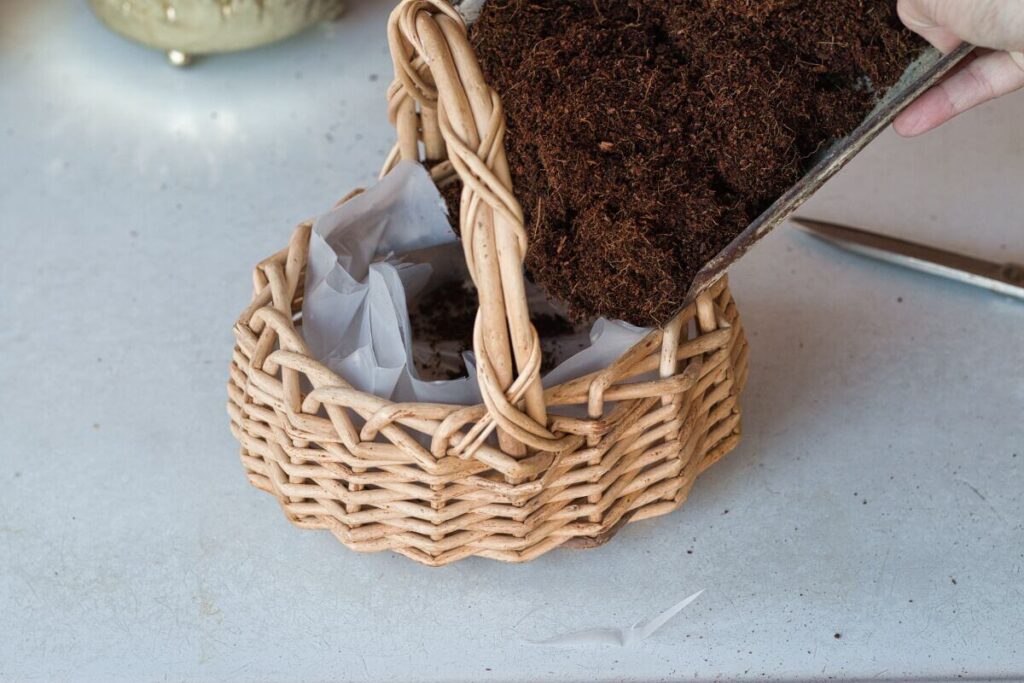
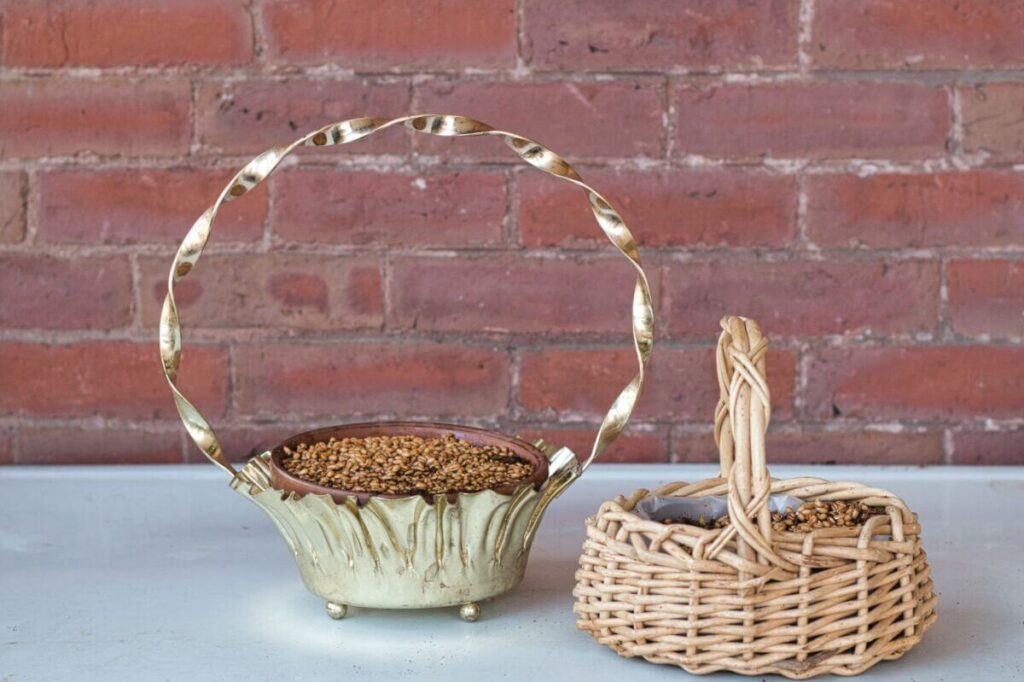
Prepare your container.  I had to line my basket with plastic.  And my metal basket was lined with a terracotta pot.  I could have also used a plastic liner, but the terracotta fit perfectly.  Once your container is ready, fill it with potting soil.

wheat grass for decor
tutorial grow wheat grass easter basket
potting soil for wheat grass

Step 3:

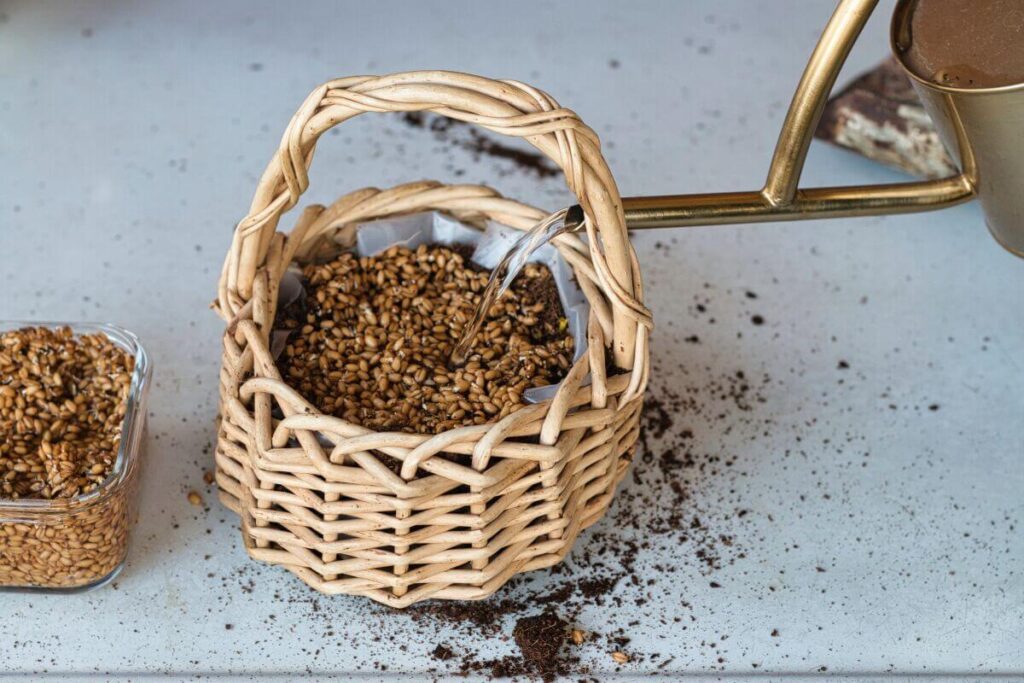
Sow the wheatgrass in potting soil and water (make sure to keep the soil moist), place it in a sunny location and wait.  That’s it.

watering wheat grass
mcm basket for decor metal

Because you have already soaked the wheatgrass, they are plump and full of water, ready to burst and take root. The seeds should start sprouting in about 3 to 5 days.

growing wheat grass for decore
wheat grass for decoration

then the magic happens

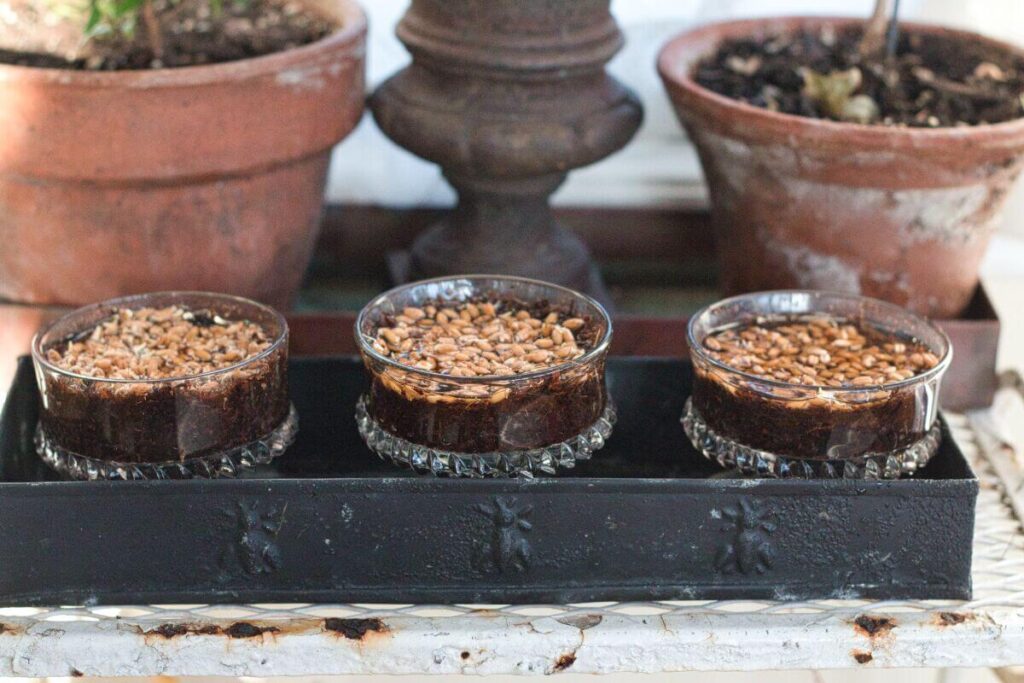
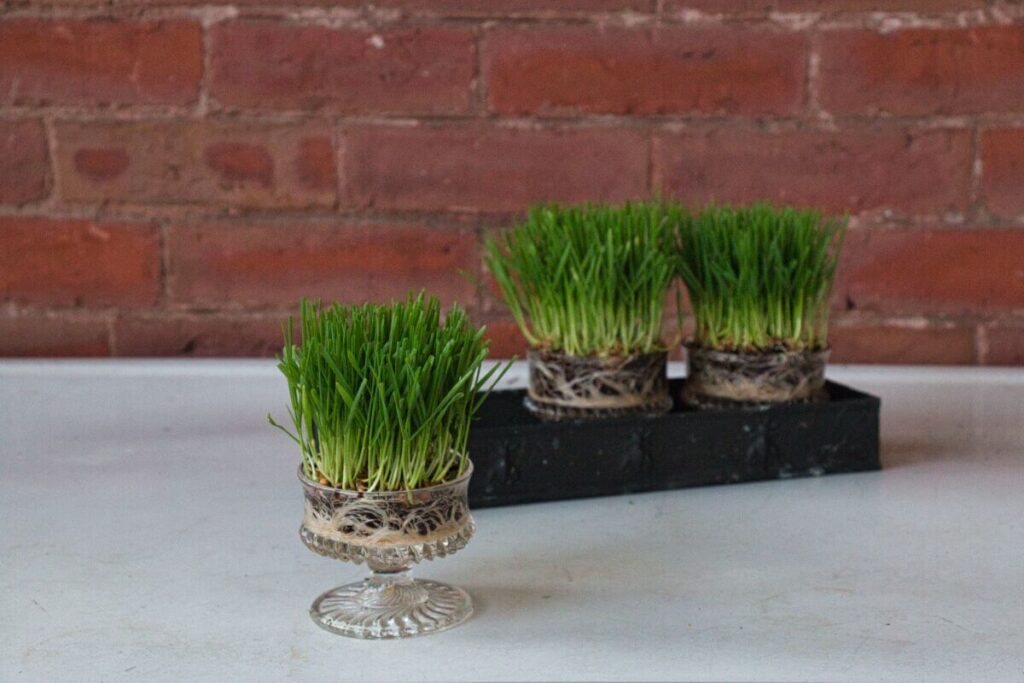
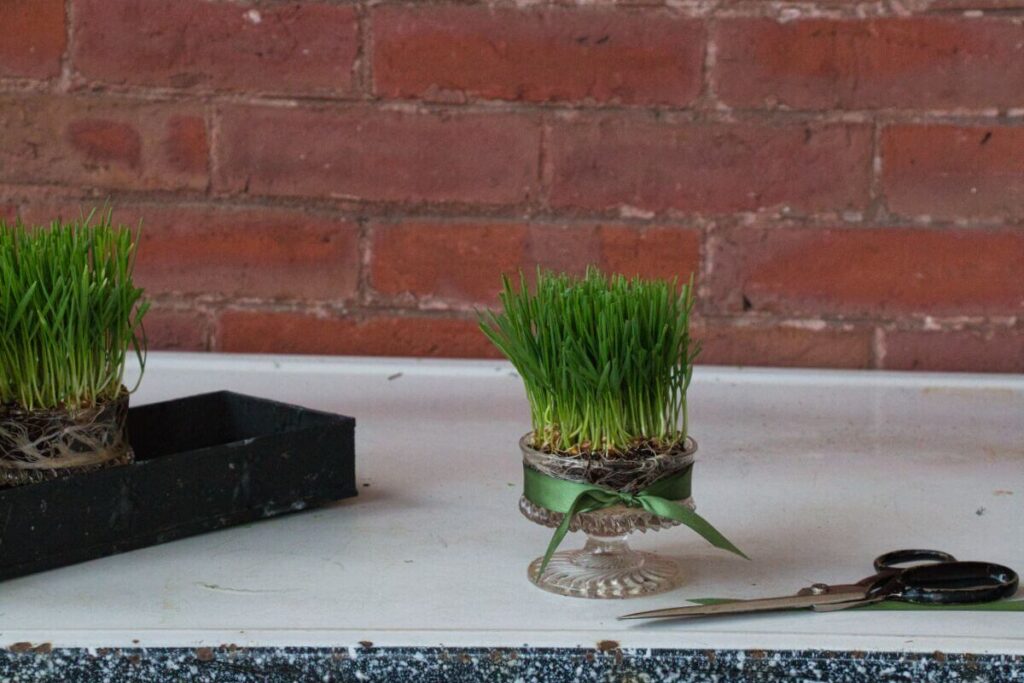
grow wheat grass dessert dish
centerpieces with wheat grass
wheat grass for table

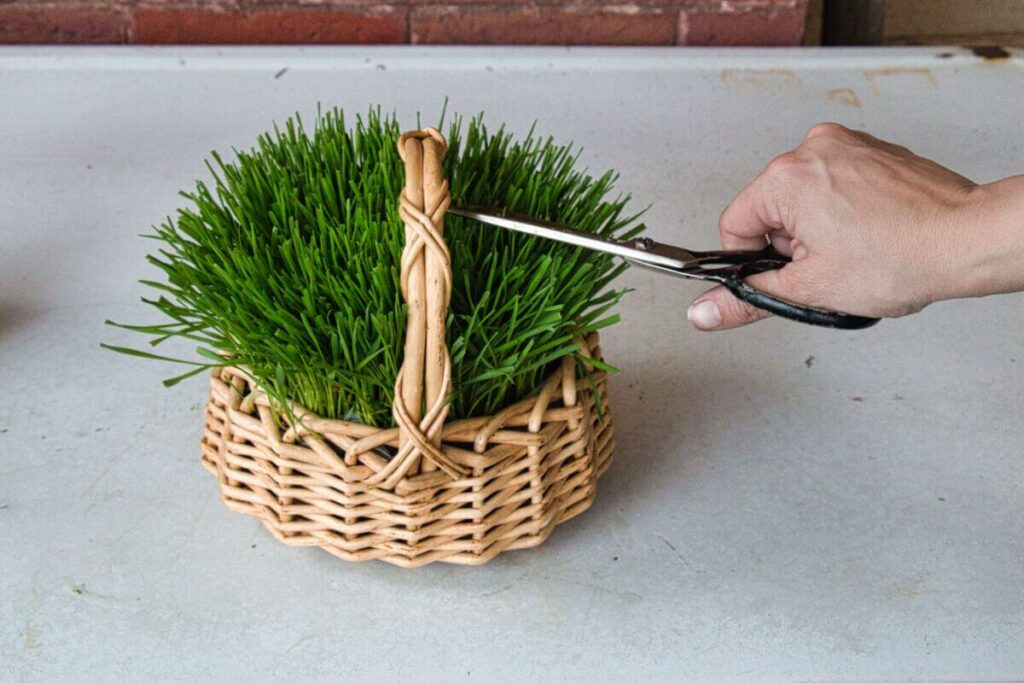
Once it starts growing, it will keep growing, and at some point, your will need to trim your grass. Wheatgrass is full of nutrients and can be grown to eat.

growing wheat grass trimming
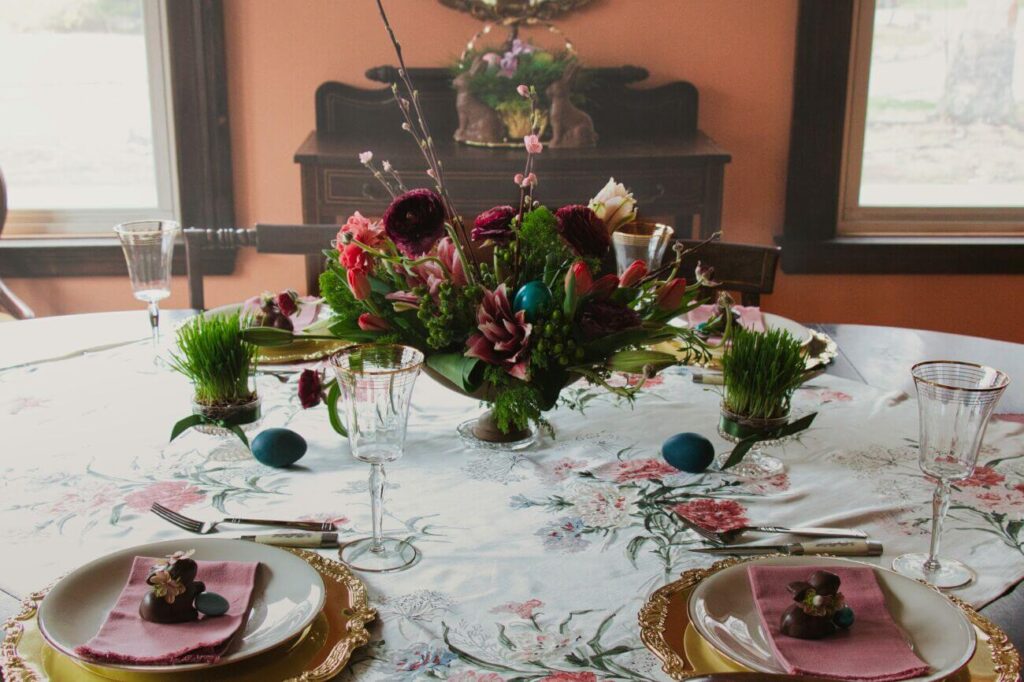
easter tablescape
Easter grass grown in dessert glasses on my Easter table.
easter bunny in wheat grass

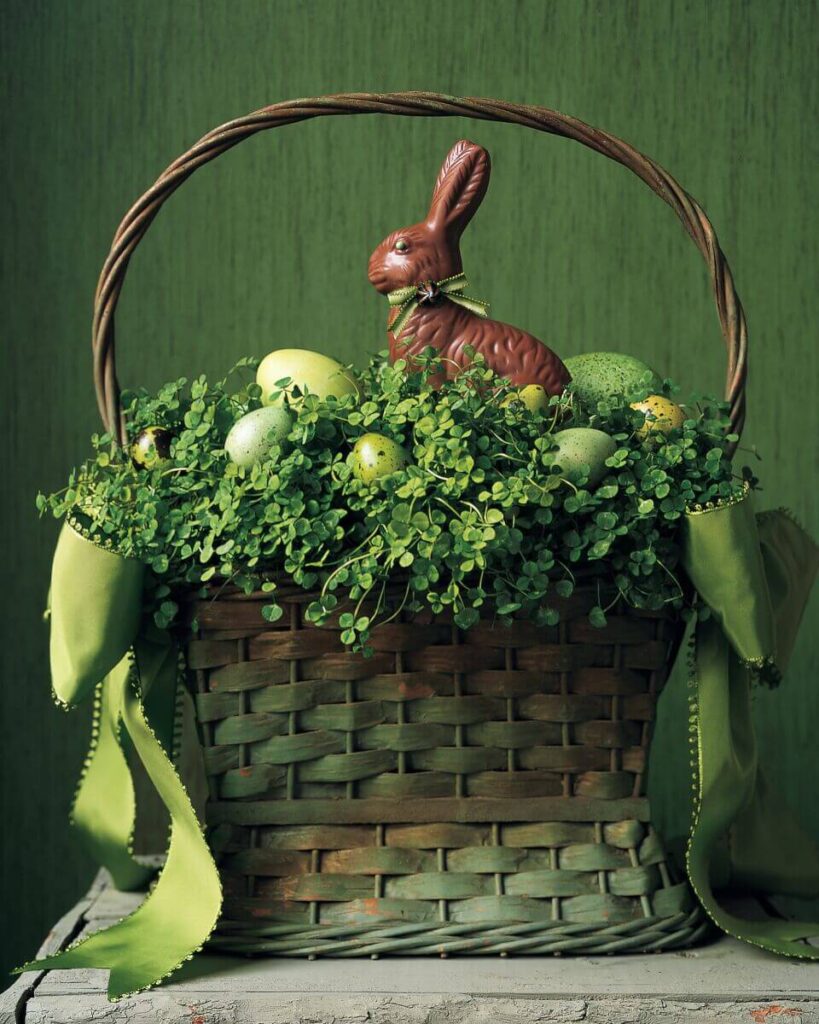
I added a chocolate bunny and some eggs to the mcm metal basket.  Of all the containers this one was my favorite, it reminded me of a Martha Stewart cover.  It’s not exactly the same, but you can see the resemblance.  The shamrocks in Martha’s basket are amazing maybe I will try that next year.

martha stewart green basket

I’m so happy with the way they turned out.  Timing is everything for this craft, you need to give yourself 4 weeks to get these results, but they are absolutely worth it.
Growing your own real Easter Grass Read More »

antique trophy

Valentines Day Floral Arrangement with vintage silver trophies

Having worked as a florist for over 10 years, I can honestly say that red roses are my least favorite flower. Talk about predictable. There are just too many beautiful flowers in this world, why say I love you with red roses? Why not give a jewel-tone arrangement of orchids and lilacs or a pastel arrangement of tulips and peonies?  

I created two valentine arrangements for myself, and both are supermarket flowers, but more importantly, not a red rose in sight.

Romantic Pinks and Purples

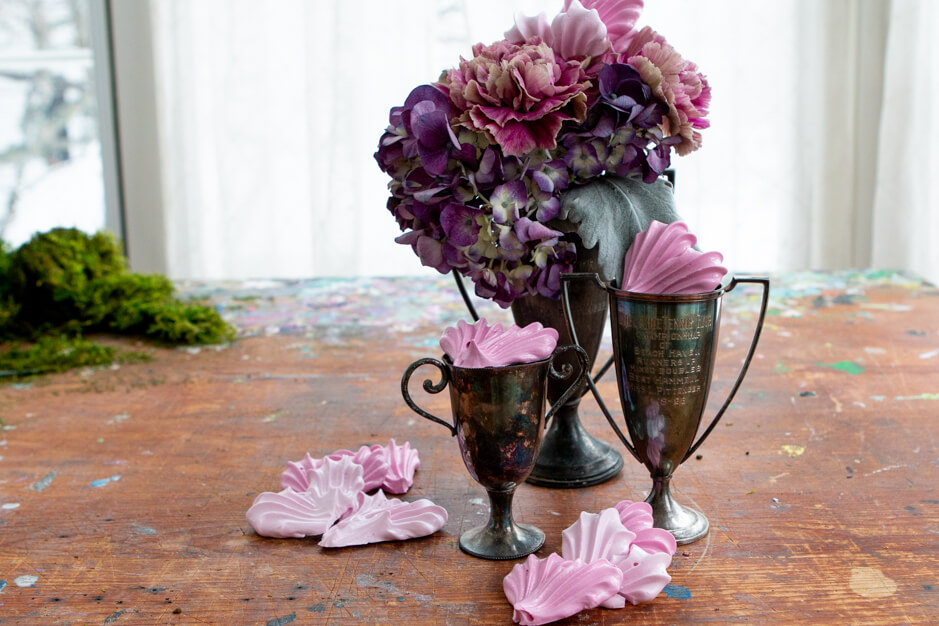
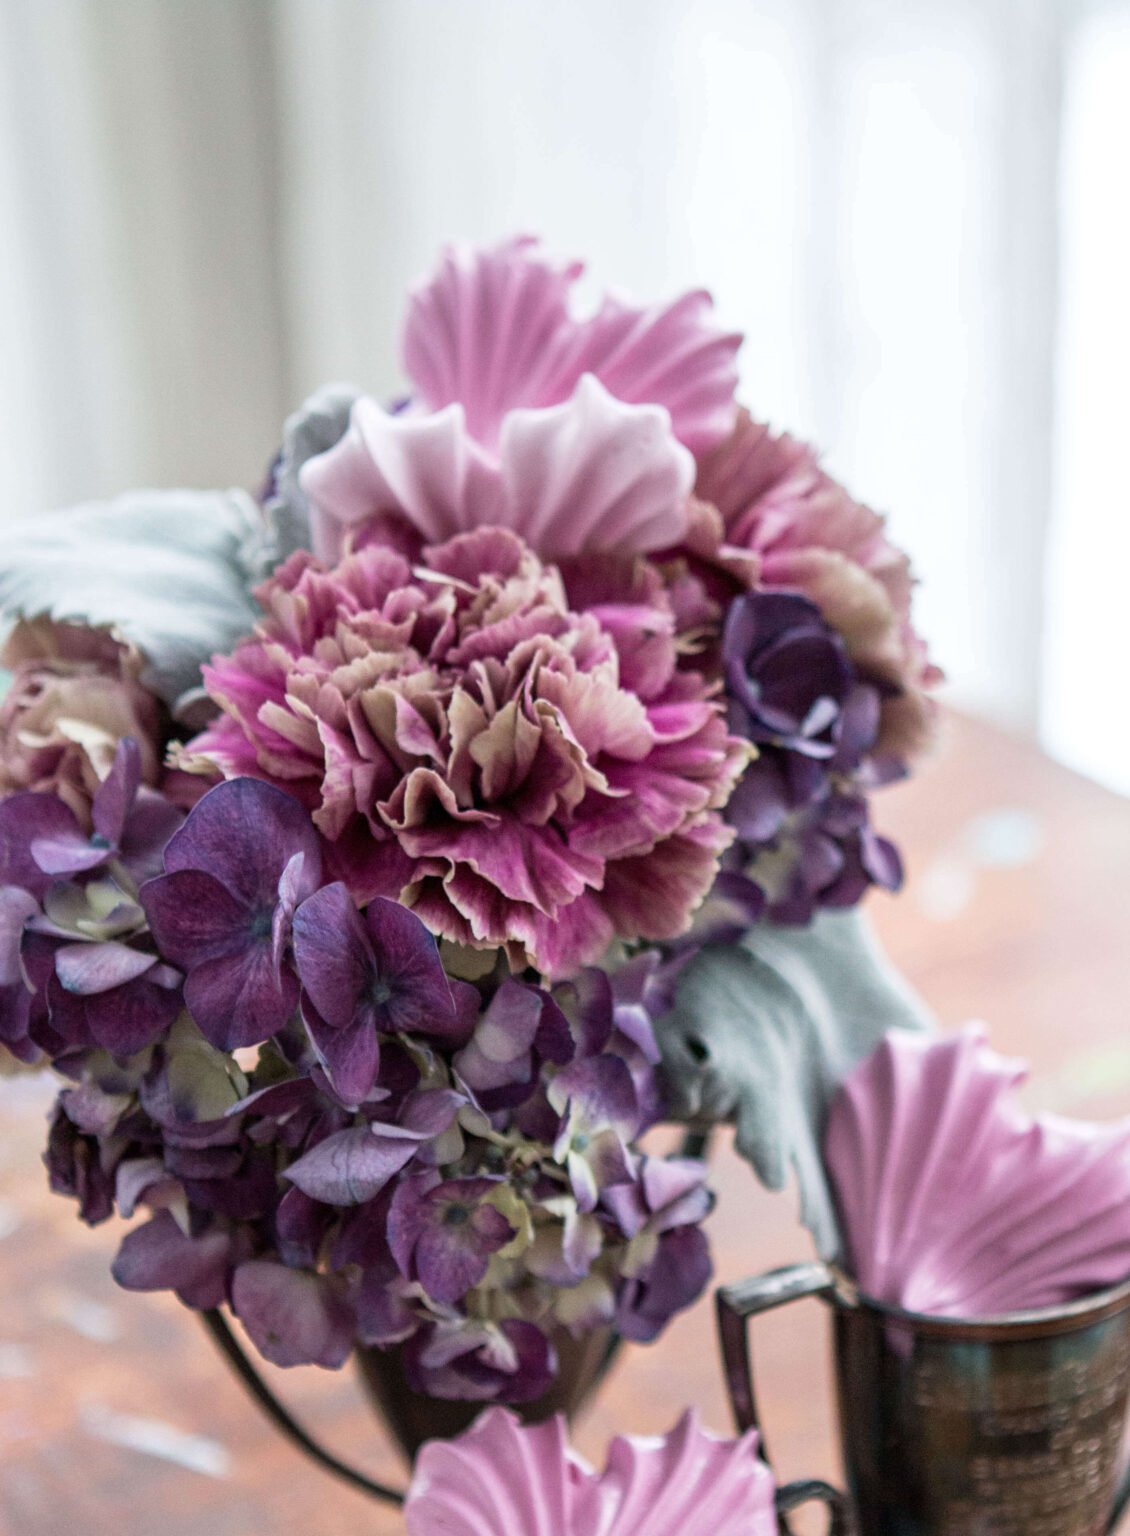
On a recent trip to WholeFoods, I stopped dead in my tracks when I saw these fantastic carnations. They had a bad wrap for a long time. They were considered cheap and common. But boy, have carnations come a long way. This carnation was a hybrid creation, two-tone fuchsia pink and dusty mauve. It is just so beautiful, and one of the best things about carnations is that they last a long time. Between the color and longevity, this was a no-brainer.

mauvy pink carnations

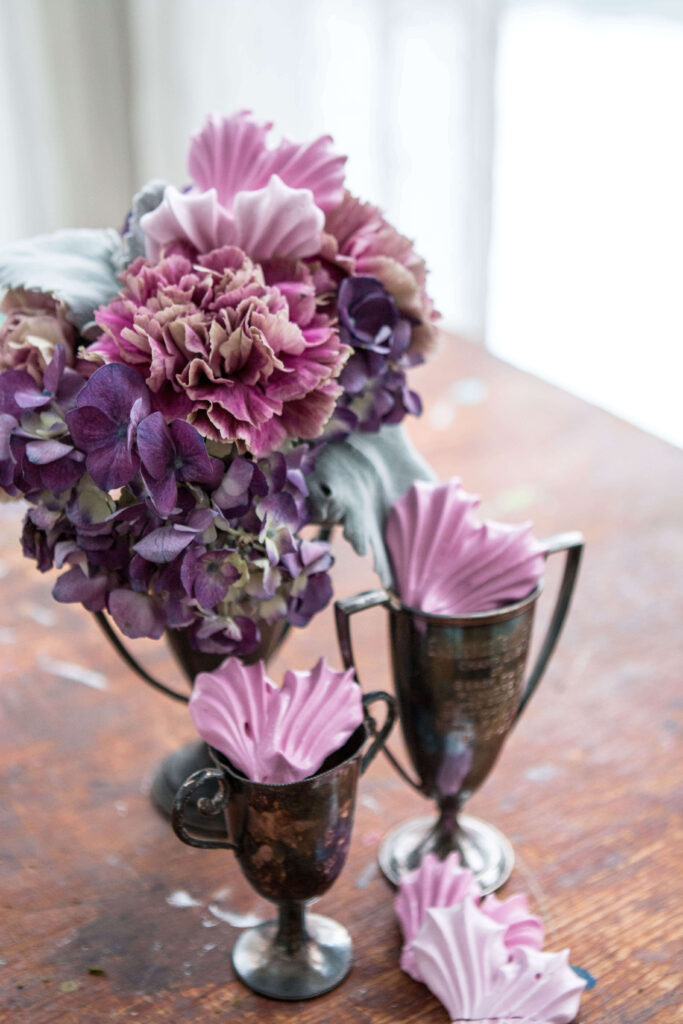
This grocery store flower combination was a bunch of carnations, some beautiful purple hydrangea, and a silver lambs ear. A simple and easy combination.

vintage trophy purple pink flower arrangement

I also picked up some pink heart meringues. Why? Not sure, but I felt like they would bring another texture and fun element to the arrangement. And it’s a fun way to celebrate love in a non-plastic, eco-friendly way. I am not perfect, but I try my best to celebrate without plastic.


I love how the cool tones all worked together.  

Hot Citrus Hues

valentine roses arrangement

This second arrangement comes from the flower selection at Trader Joe’s.  They really do have a fantastic flower selection, with excellent prices.  There is no reason not to go home with some beautiful blooms for your home.

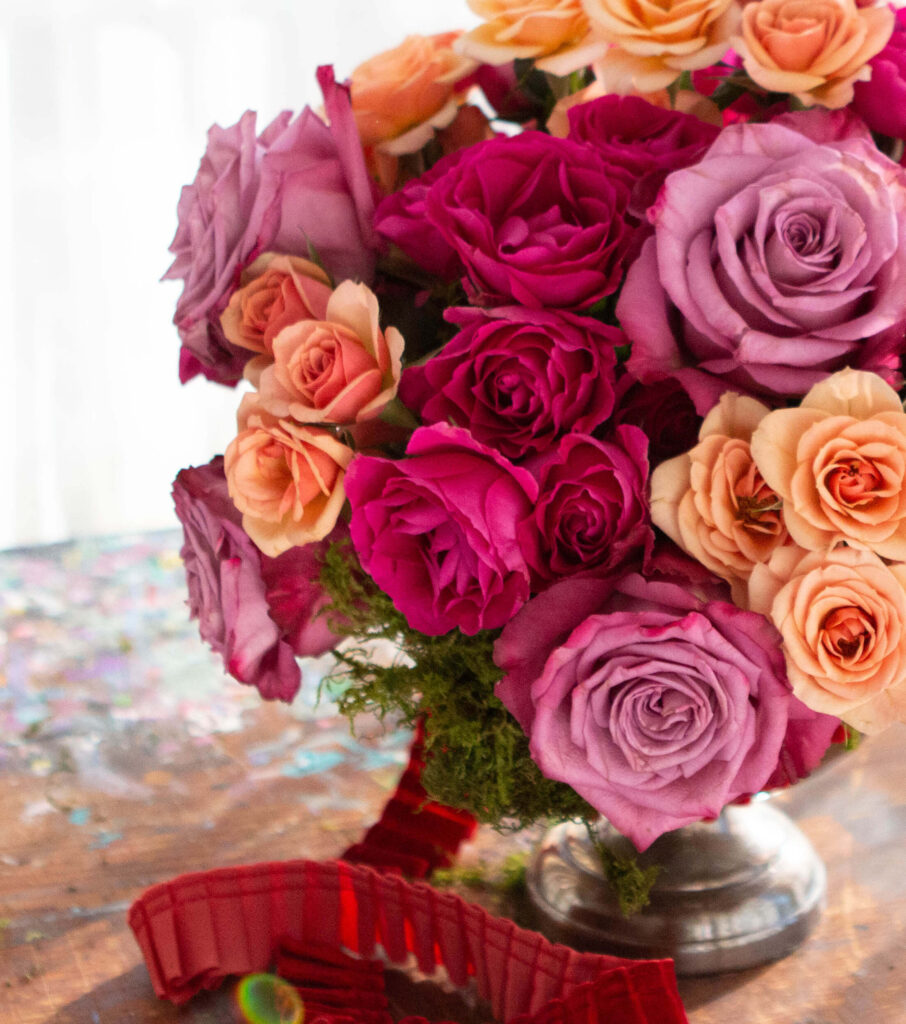
Again I went with a silver-plated trophy vase, but this one is special.  This trophy vase has a cage flower frog top.  It’s comes with its own mechanics for your floral creations!  I went a vibrant selection of roses.  

I used gorgeous purple garden roses and peach and hot pink spray roses, all from my favorite TJ’s. I bought these 3 days before Valentine’s Day, and I was so impressed with the quality of the flowers.  Unfortunately, I underestimated the size of the vase. SOME MECHANICS WERE SHOWING when I was done because I needed more roses to fill this container, but I covered whatever mechanics showed with moss. And at the last minute, I added a little red velvet box pleated ribbon and let it trail off the edge. I loved how it came out.

red velvet box ribbon roses purple

So here are a couple of ideas for Valentine’s Day flowers. I hope you enjoyed and more importantly, I hope you are inspired to celebrate love with a different palette. Happy Valentine’s Day, no red roses here.

Valentines Day Floral Arrangement with vintage silver trophies Read More »

farmhouse wedding decor

How to Upcycle an old typewriter new life – DIY

underwood typewriter keys

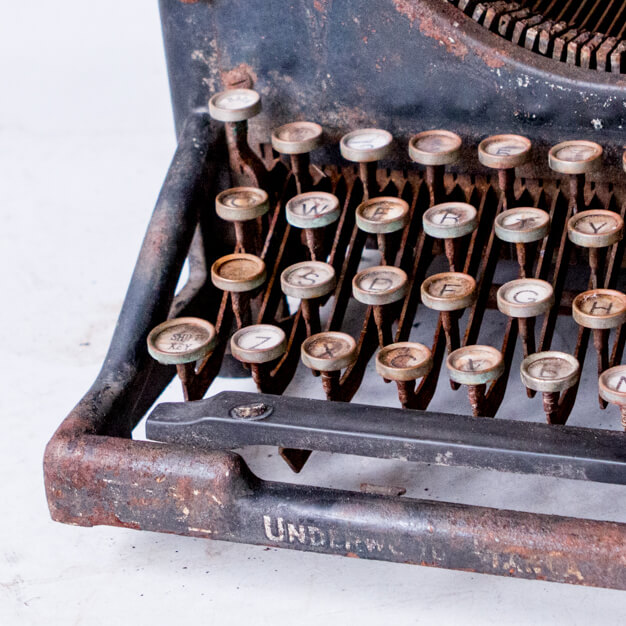
I recently found an antique Underwood No.5 typewriter that was so far gone, I couldn’t even salvage her for parts. I found her in an old barn that, well, let’s just say, it wasn’t exactly a weather-tight structure. So while it wasn’t left outside, it was pretty close. I considered using her as a planter, but two things prompted me to rethink that idea

First issue was that I left the typewriter outside, I figured it was already rusty.  But more rain made it your guessed it  rustier, and now the letter keys were illegible. So I knew that if this was to be kept outdoors, it would need some sort of topcoat to seal it and stop it from rusting anymore. It’s hard to spray poly on evenly, and I just didn’t want to deal with that. 

Type me an old letter
rusty typewriter keys

The second issue I had was that the open cavity in the typewriter would only hold one plant at best. And I was envisioning the typewriter overflowing with different types of cactus.  I love plants too much to put them in this cramped space, they won’t thrive in a space like this.

faux succulents michaels
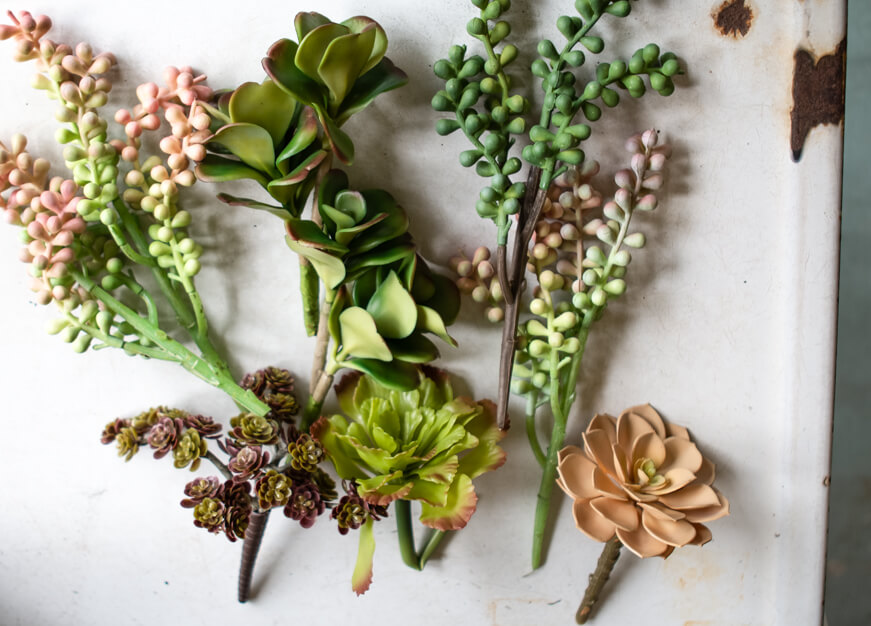
The fix was to go with faux flowers and keeps it as an indoor decorative arrangement. Faux succulents, actually. I had found some great succulents at Michael's and was excited to get started.
diy faux succulents typewriter

Even rusty and dirty, she is a beautiful typewriter. I mean, I don’t know about you, but when I think of an antique typewriter, I think of a No. 5 Underwood typewriter.


The Underwood typewriter was invented by German-American inventor Franz X. Wagner in 1873. In 1906, the company was bought by John T. Underwood, who changed the name from “Wagner Typewriter Company” to “Underwood Typewriter Company.

What you need:

  • 8 stems of succulents
  • Hot Glue
  • Wire clippers
  • Reindeer moss

So here is the easiest tutorial you have ever read or watched. The hardest part of this DIY was finding the typewriter. A No. 5 Underwood might be hard to find in any condition, so don’t feel you have to find the same one.


For this simple DIY, it is really just a matter of cutting the stems (in some cases pulling the tops off is easier) and gluing the faux succulents in place.


Starting with the larger succulents first, I focused on the top cavity. I also made sure to have some of the trailing succulents drape out the front and side of the typewriter.  If your typewriter is in better condition and you are concerned with damaging it with hot glue.  You could just place the stems in the cavity without gluing the stems.  That way you are not hurting the typewriter and also you could swap out the flowers with the seasons.


As an after thought, I also added reindeer moss (not shown in the pictures) it filled in any holes or mechanics that were showing.

I think this would look great on a entry table at a country or farm style wedding.  If  you really like this look and you are really ambitious, this would be a fantastic centerpiece on a table.  That would of course require you to source a lot of old typewriters, which could be a daunting task.  Or you could intermix the tables with a typewriter centerpiece and book centerpiece.  If faux isn’t your thing you could create this look with fresh flowers and that would be so beautiful as well.

I hope you enjoyed the process.  I really love how the typewriter turned out.  I have displayed on a desk in my booth and I am really happy with the transformation.

How to Upcycle an old typewriter new life – DIY Read More »