Halloween Witch’s Broom – DIY Tutorial

For me, Halloween is a time to celebrate my inner witch.  And every year, I strive to transform my home into a witch’s den. I try to stick to a theme because I think that the look has more impact when you have a theme. You’ve already seen my Martha Stewart cutout witch, and she’s the centerpiece of my Halloween decor.

So this year, I wanted to play up the whimsical and use a lot of brooms and witch’s hats. When I looked I could not find a witch’s broom that I liked. It was a goldilocks scenario. Everything I found was either too small, not full enough, or plastic.

To get the look I wanted, I realized that I would need to make my own. I have created a quick video tutorial to show you how I made my brooms. This broom is purely decorative and is made out of a birch branch and twigs. I ended up embellishing the broom because it needed a little something extra.  

Here is what you will need:

  • Natural Birch Twigs – I bought mine through Amazon. This link is to a box of 4 bundles. Enough for two brooms
  • Birch branch for the handle – 48″ in length, 2′ in diameter, but you can choose to make your broom handle longer or shorter, and it doesn’t have to be birch.  Choose any branch that is long enough for the handle. I recommend going for a hike and finding your perfect handle.  The more bends and knots the better.
  • Twine
  • Hot Glue Gun
  • Scissors/clippers

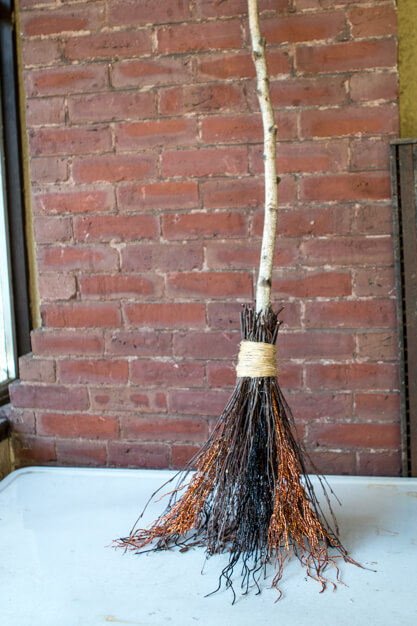
I started the first layer by gluing twigs to the lower portion of the branch about 6 inches from the bottom. After the first layer was glued down, I then wrapped it with twine and followed with another layer of branches and then wrapped them again with twine.  The key is to line up the ends of the branches so the it looks nice and neat.

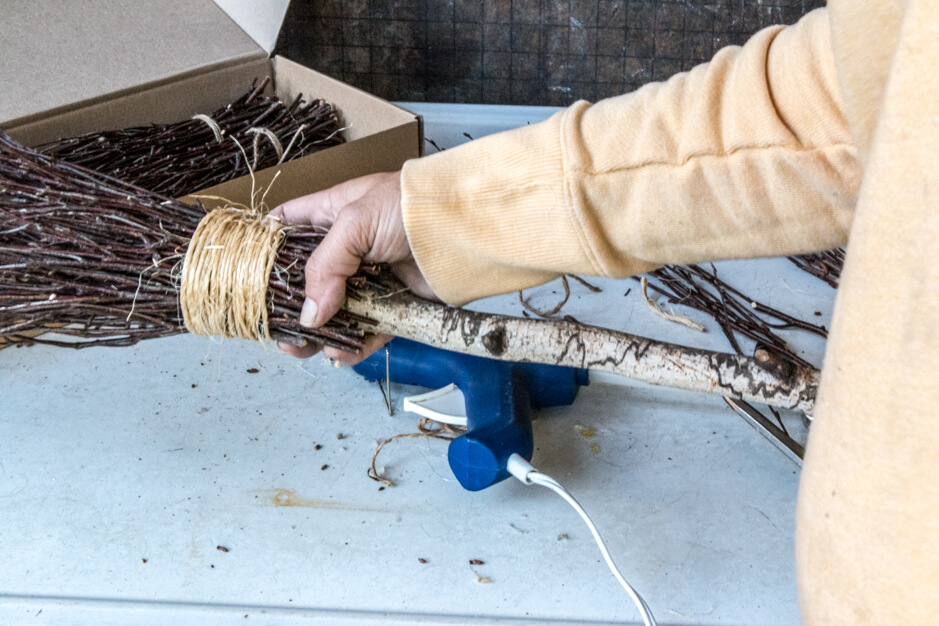
 At this point, the broom is done, but I prefer a fuller look, so I glued individual branches to give it a fuller look. You can leave the broom plain like this, but I felt like it needed a little something.

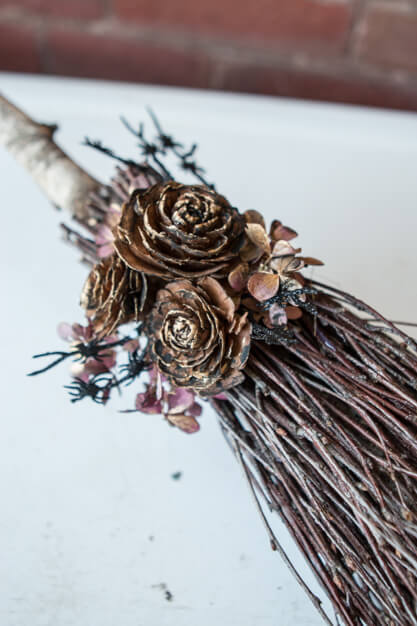
I added cedar roses, end of summer hydrangea (that means is already starting to dry on the plant, great for dry arrangements), and a few sprigs of black sparkly branches from a Halloween pick. 

And even after that, I felt it still needed something. So I took a little chalk paint and lightly went over all of the edges of the pinecones, hydrangea, and the twine.

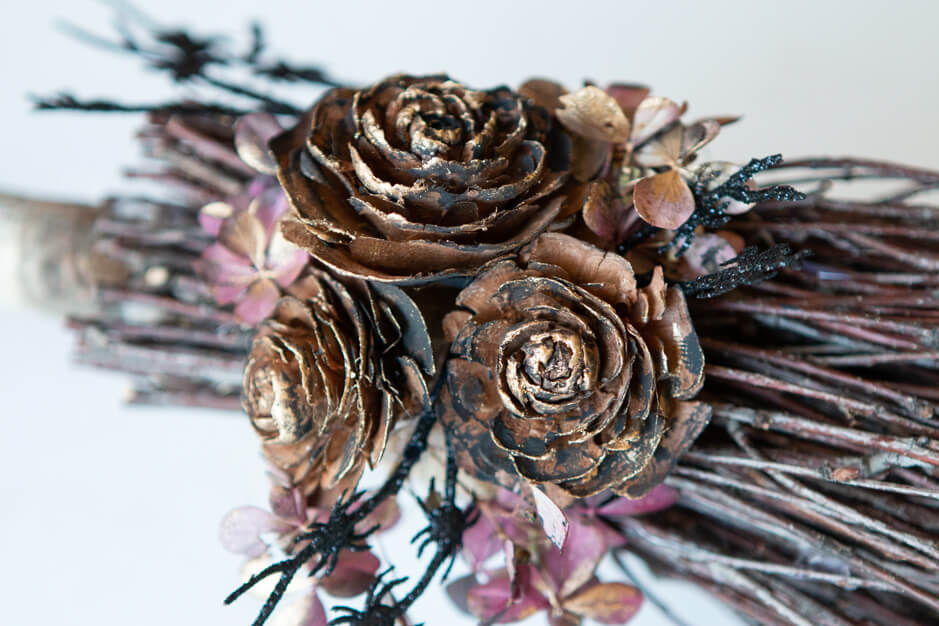
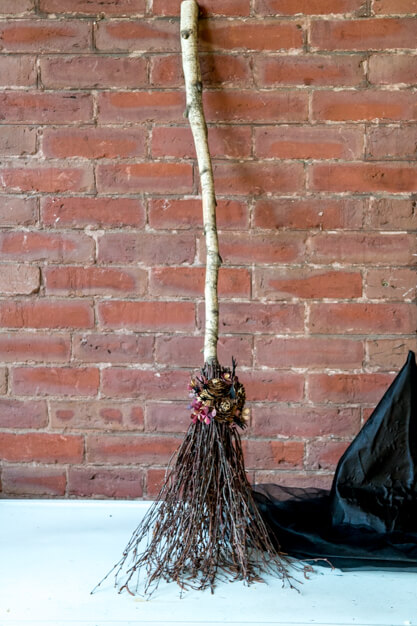
But then it was too dark, so I went over everything with a bit of gold gilding wax to brighten it a touch. The final result is a slightly gilded and aged broomstick. I’m thrilled with the way it turned out.  It’s spooky and pretty.

cedar rose pinecones on witch broom
halloween witch decor

Above is a shot of the broom in my booth.  I hung it above a fireplace mantle and love how it looks. 

This is another version of the broom I made, but in this version I added some sparkly black and orange Halloween picks from the dollar store.  It looked great on  it’s on, but what can I say I am sucker for anything sparkly.

I hung this broom in my portico, keeping with my witch’s den theme.  

I love my Hocus Pocus banners, the black and orange works perfectly with my theme and they are perfect over my sidelights. 

Thank you for stopping by, if you end up making your own broom be sure to share it on social media and tag me, I would love to see your brooms!

Share